Senior Design Project

Design Process

From early observations to a finished modular playset—explore the journey, decisions, and iterations that shaped the final design.

Start Exploring →
1

Discovery & Research

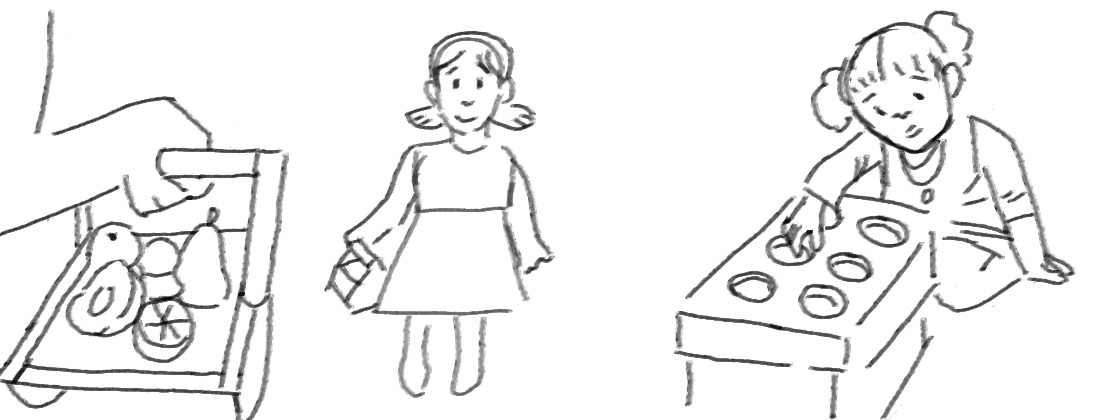
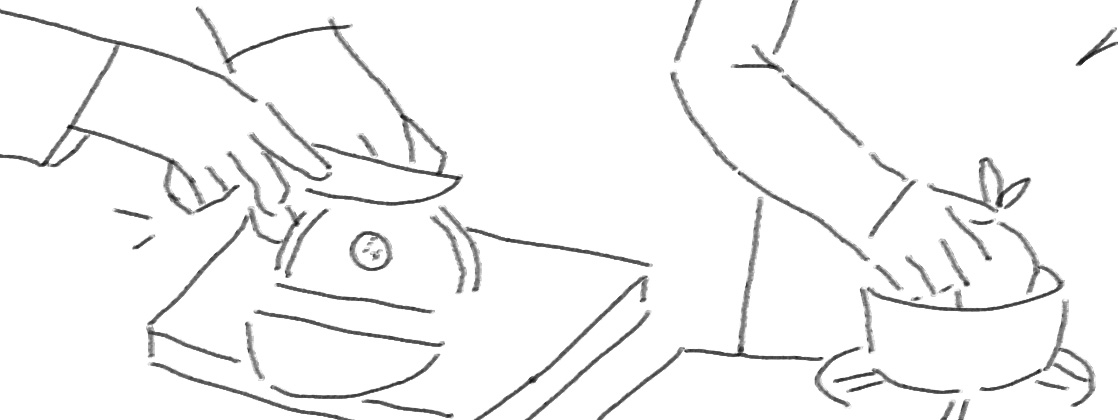
I began my user research by visiting preschool classrooms to observe how children interact with existing playsets. Through stakeholder interviews with teachers, designers, and children's museum directors, I uncovered recurring frustrations around cooperative play, durability, and inclusivity.

  • Classroom observations across 2 preschool sites
  • Interviews with 2 educators and 2 designers
  • Analysis of existing product lines and safety standards
  • Synthesis of pain points into 4 core themes
Classroom observation photo 1
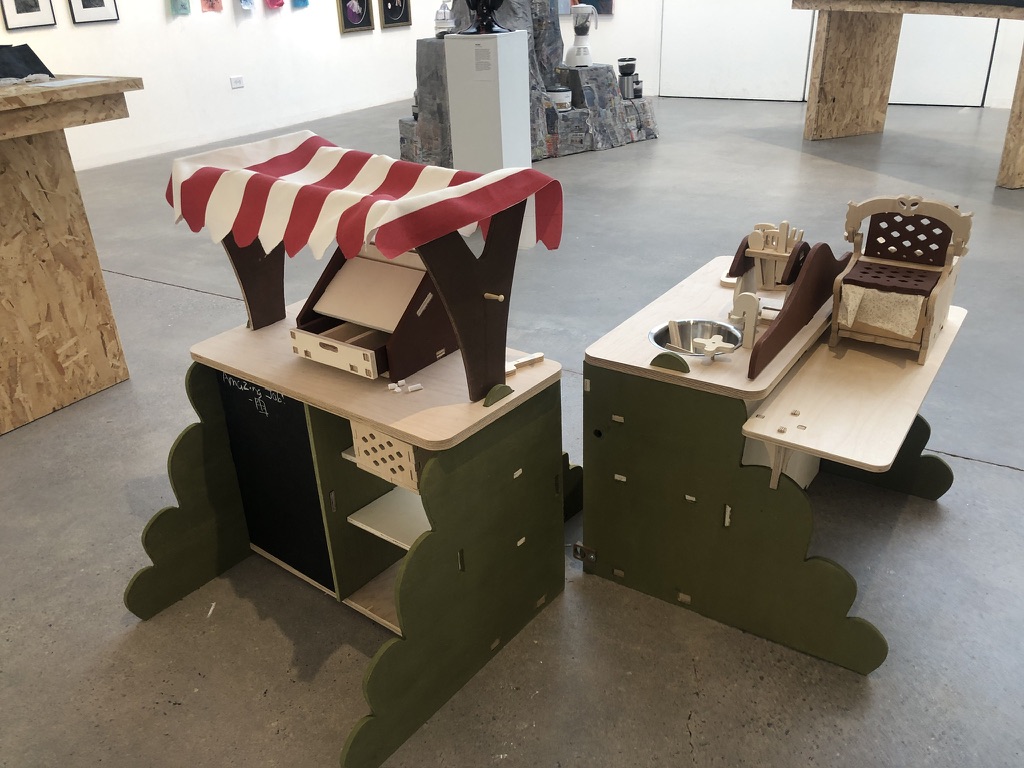
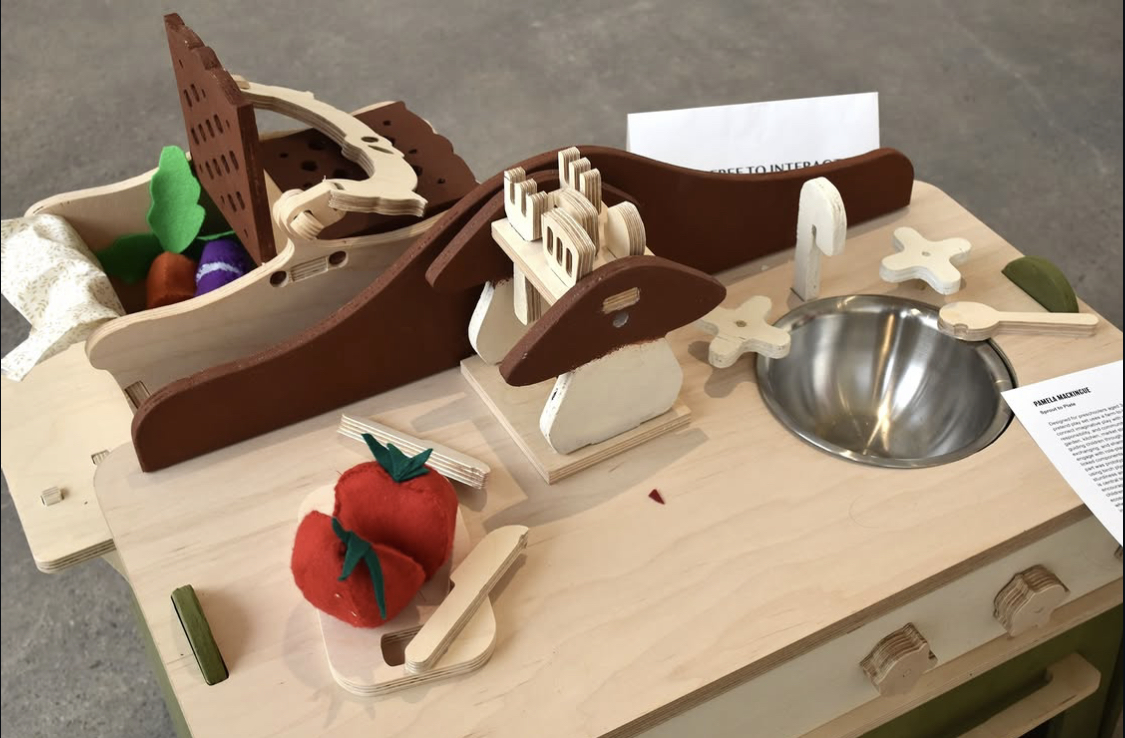
Observation notes from a preschool play session
Research synthesis material
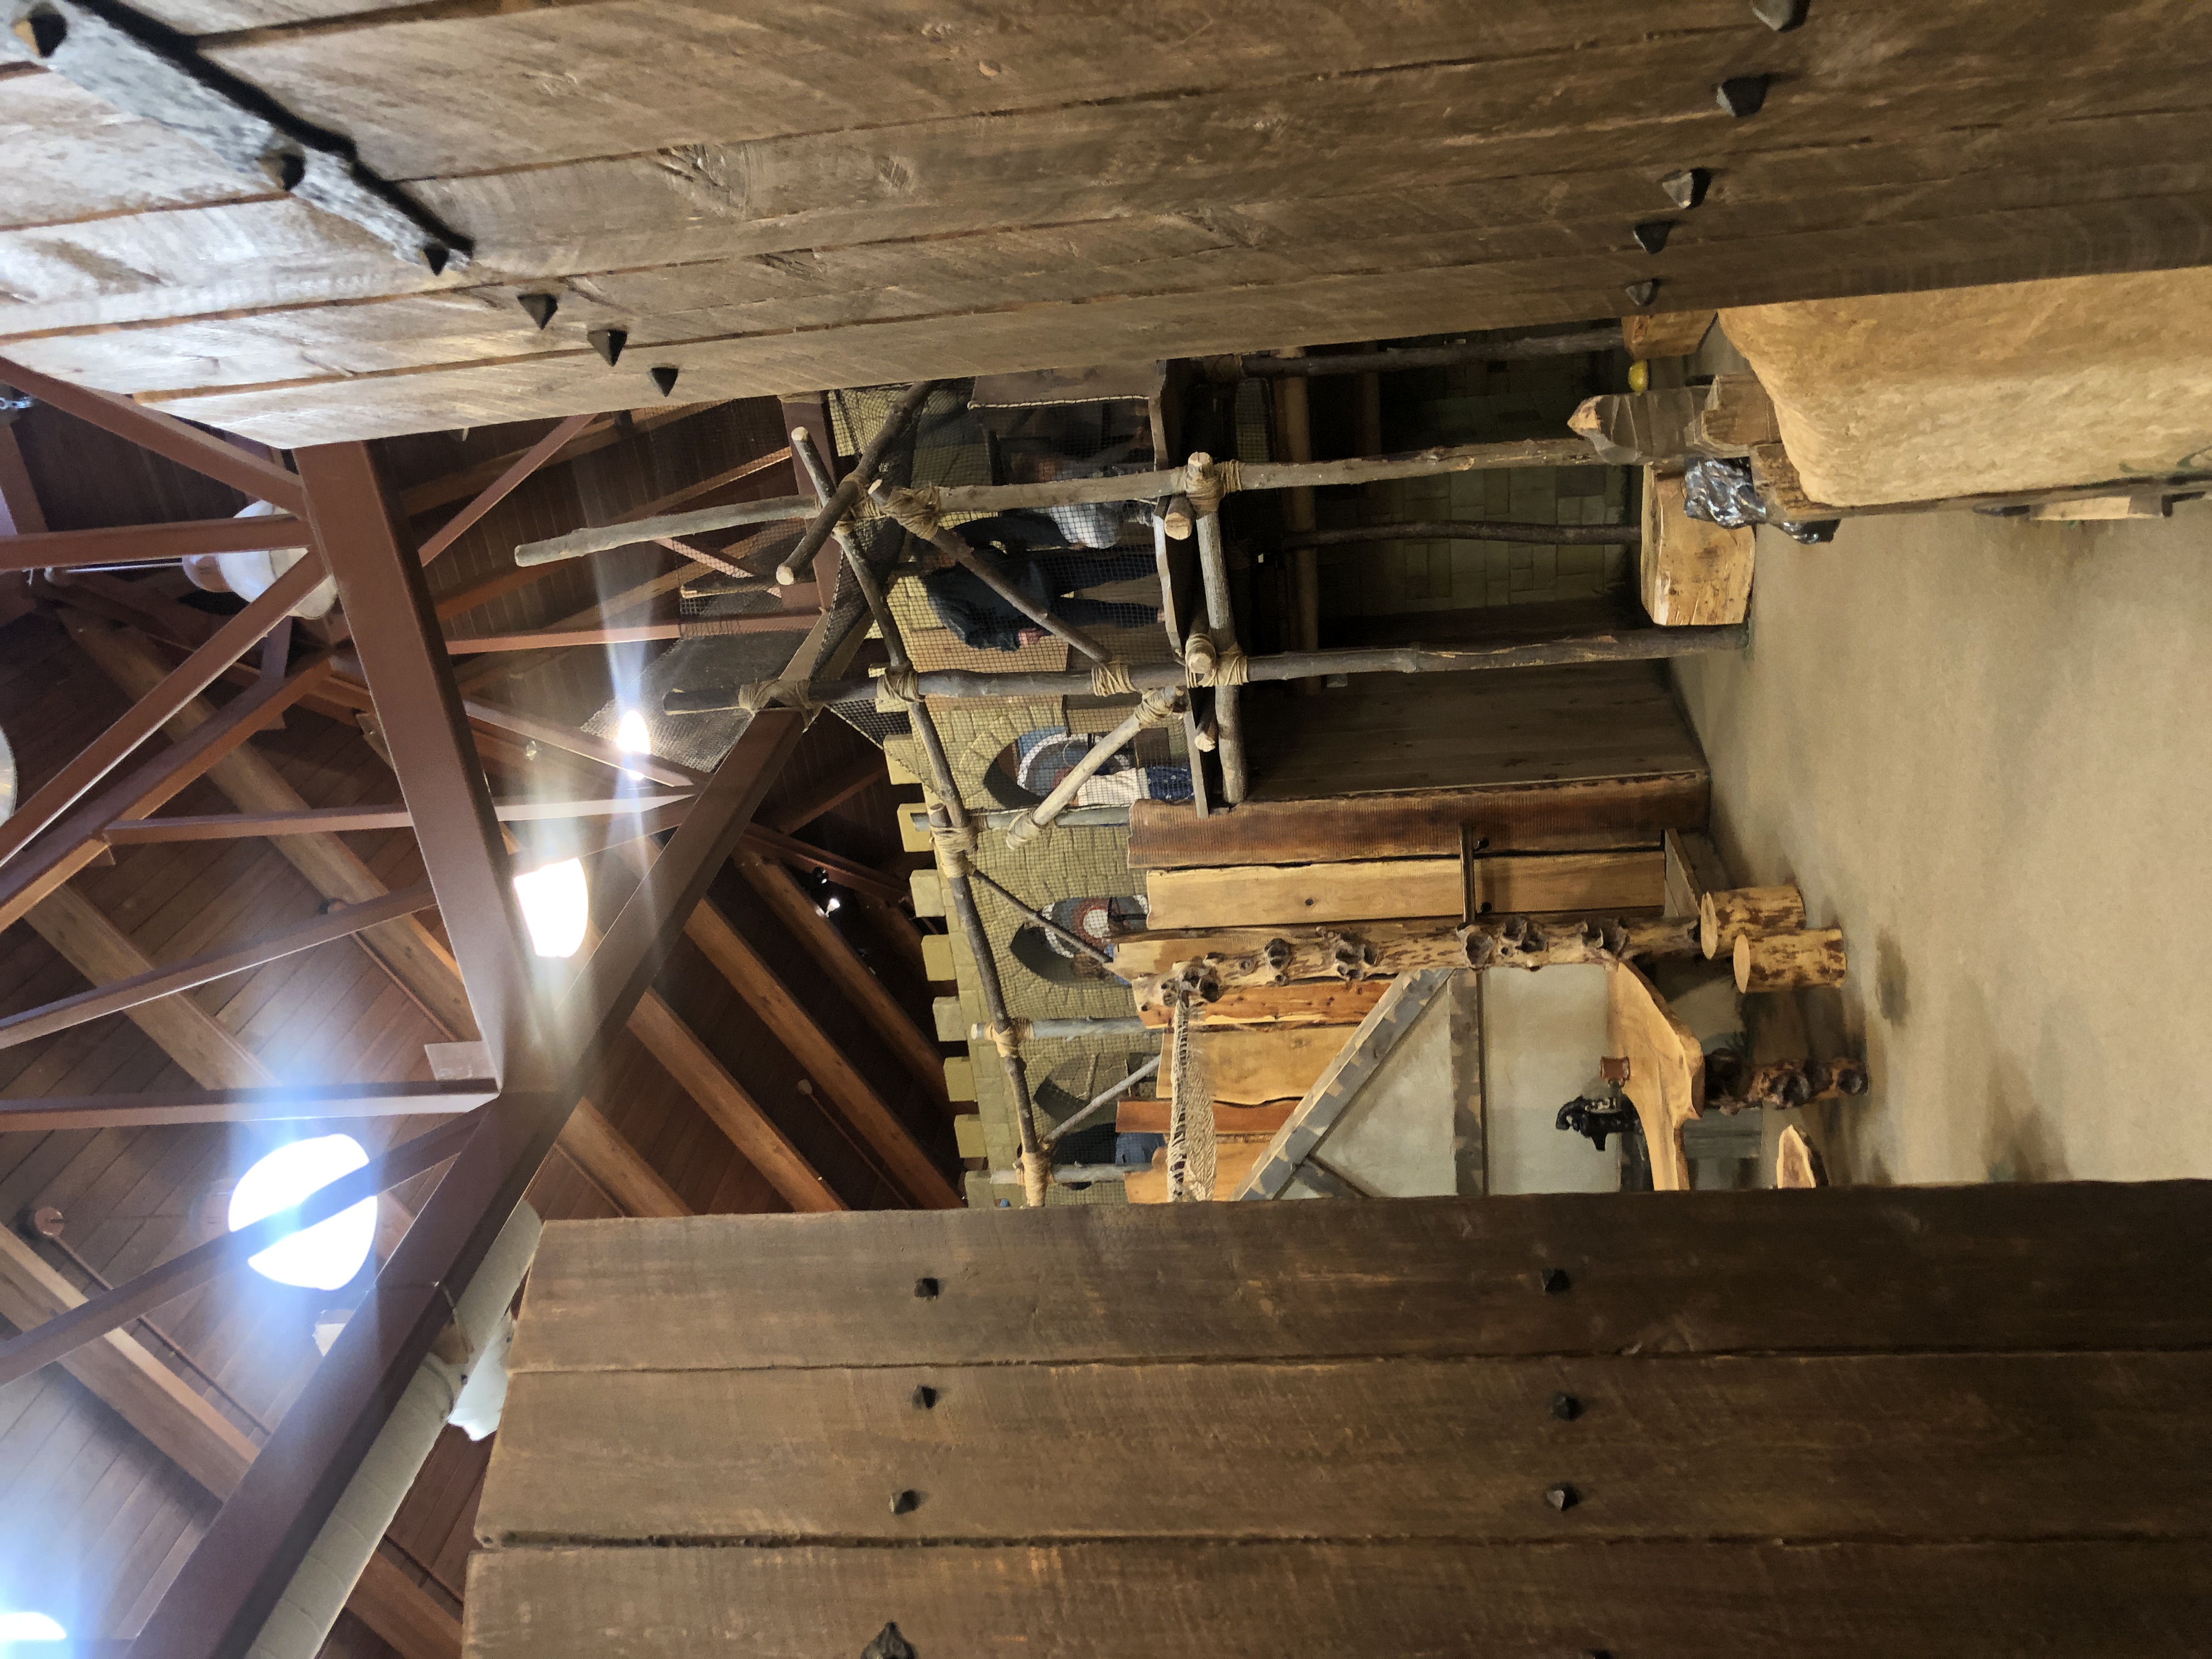
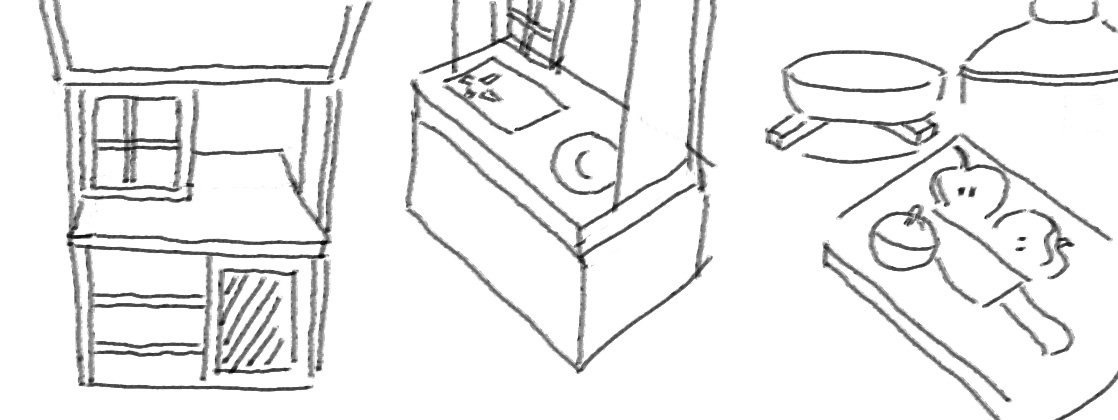
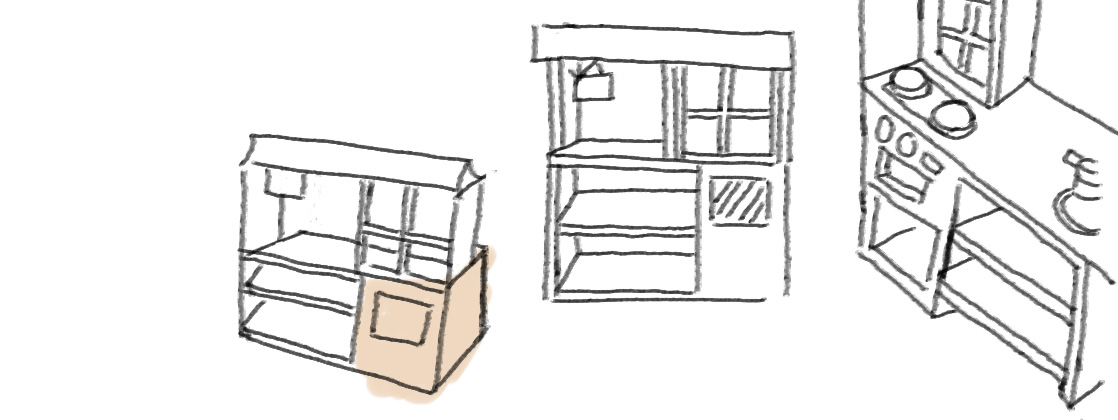
Medieval Exhibit from Kidcity Museum in Middletown, CT
Stakeholder interview notes
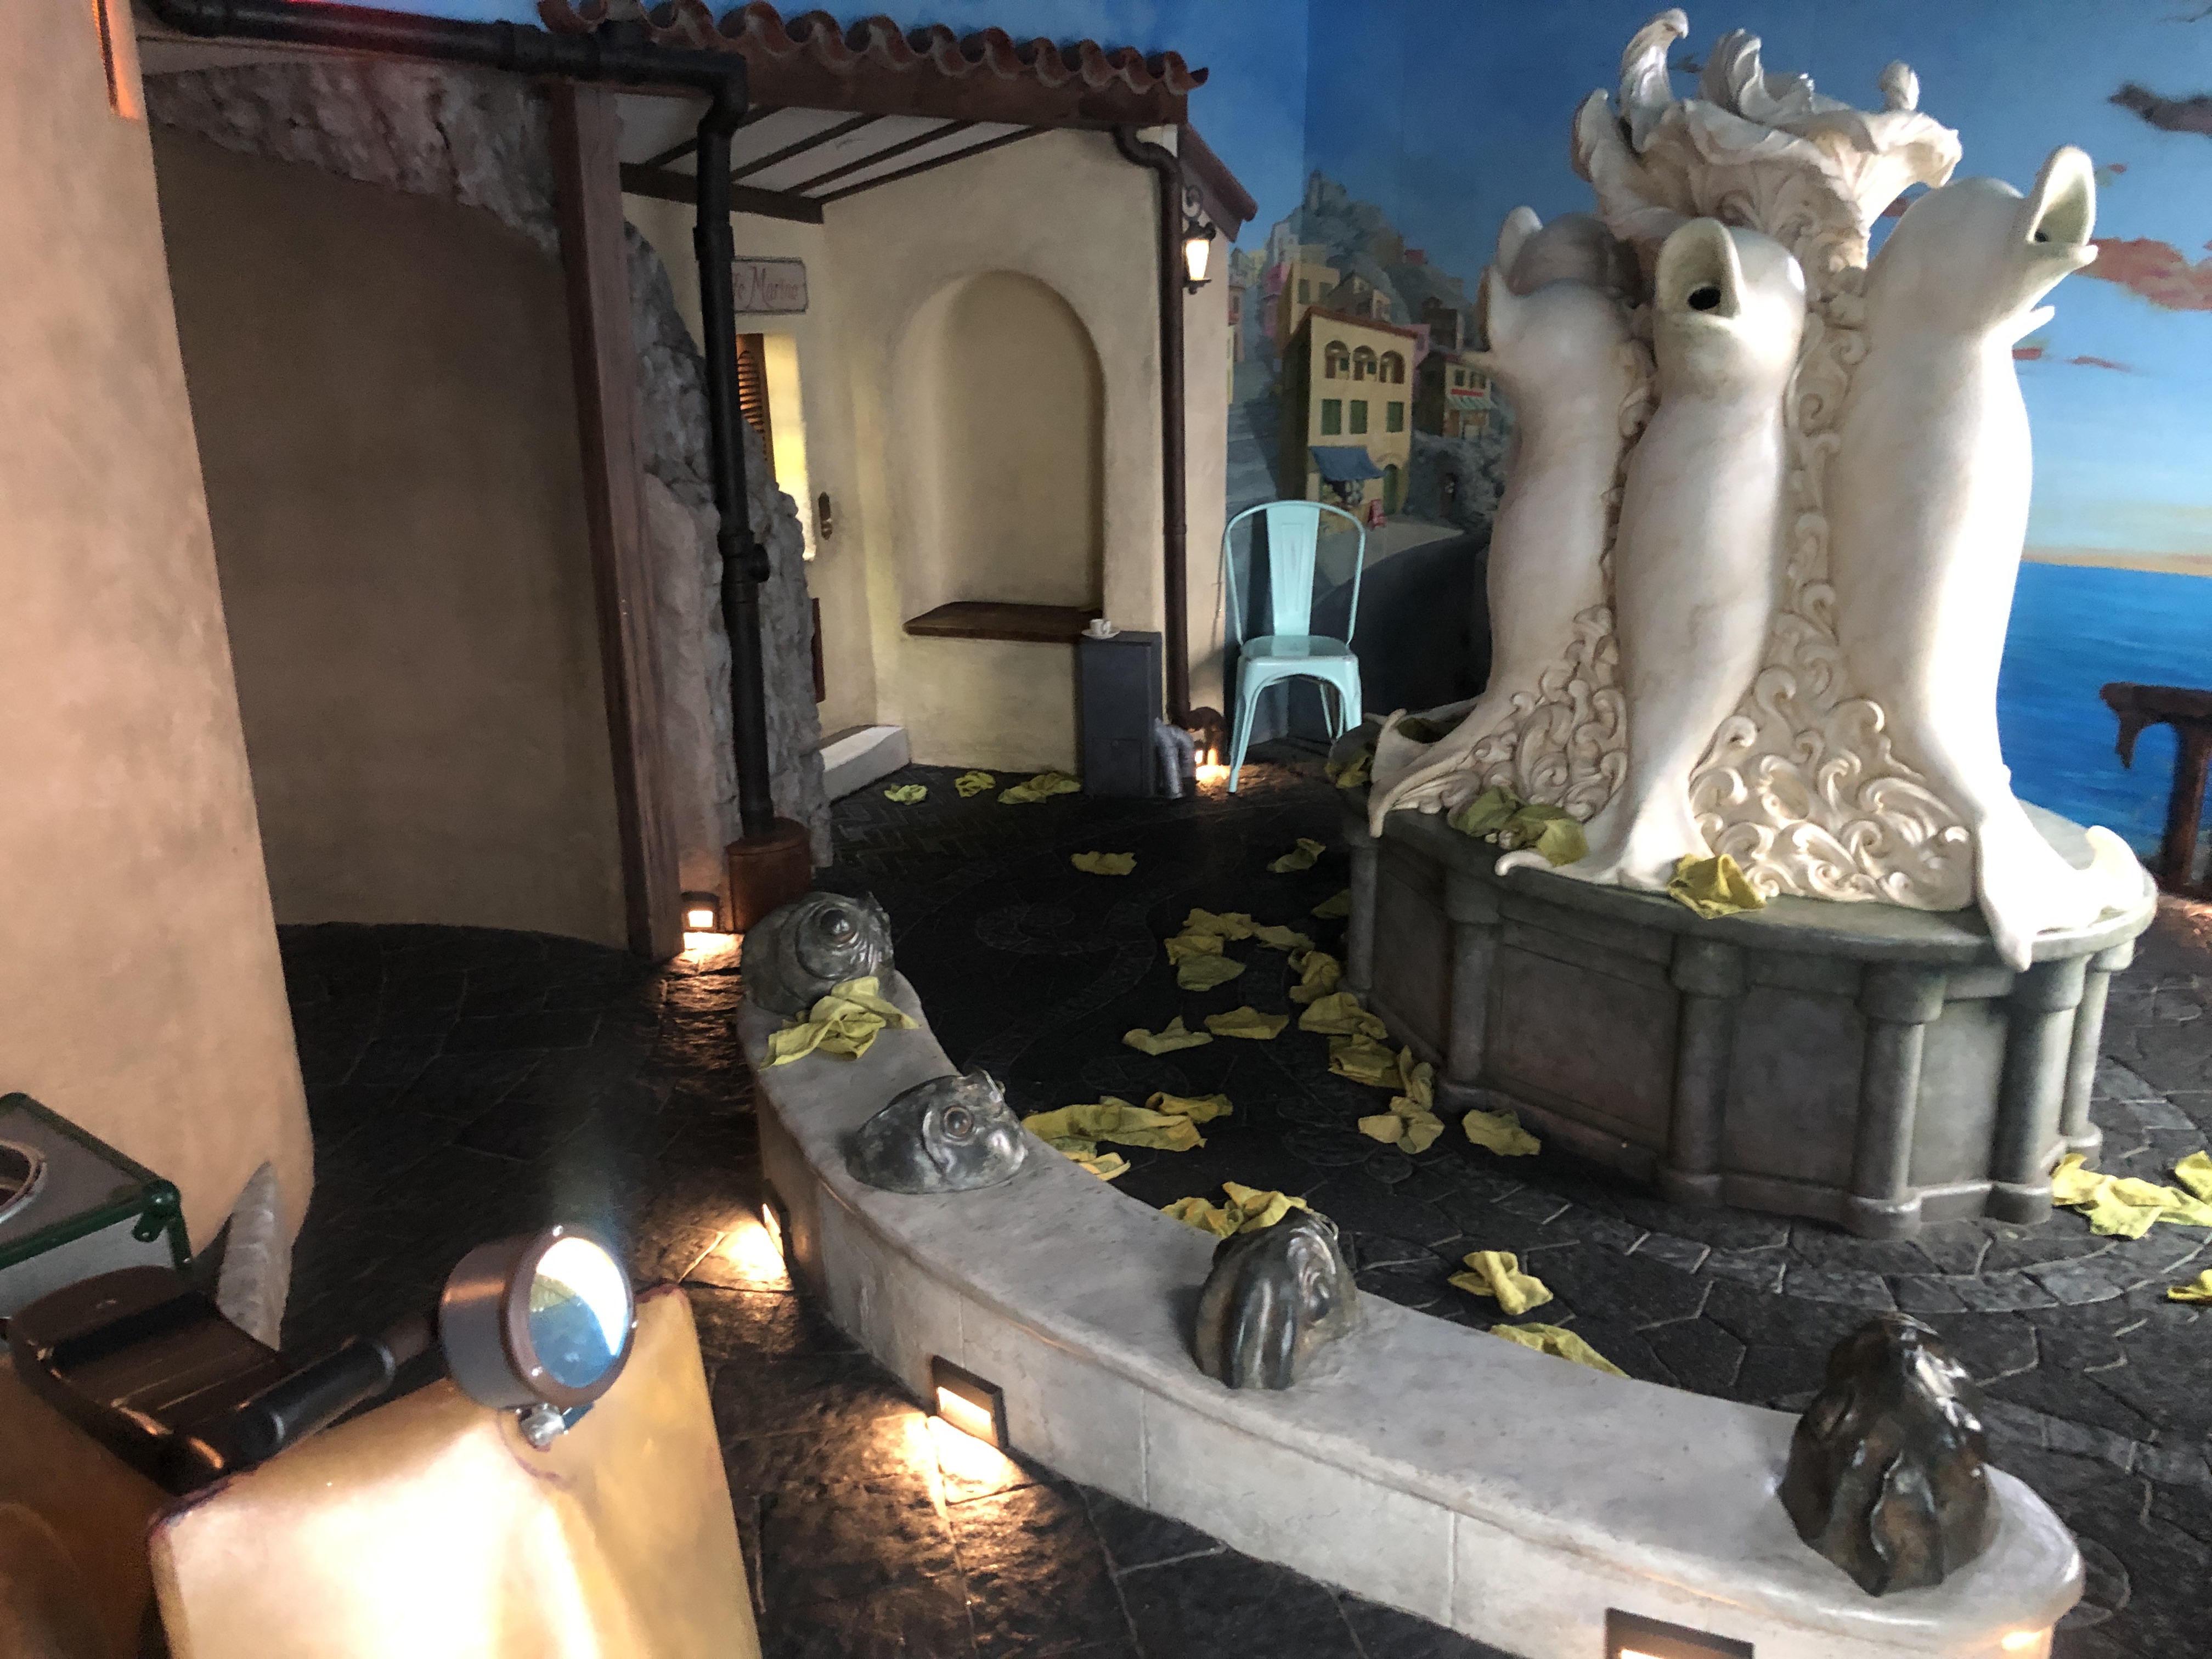
Sicillian Exhibit from Kidcity Museum in Middletown, CT
Classroom site visit
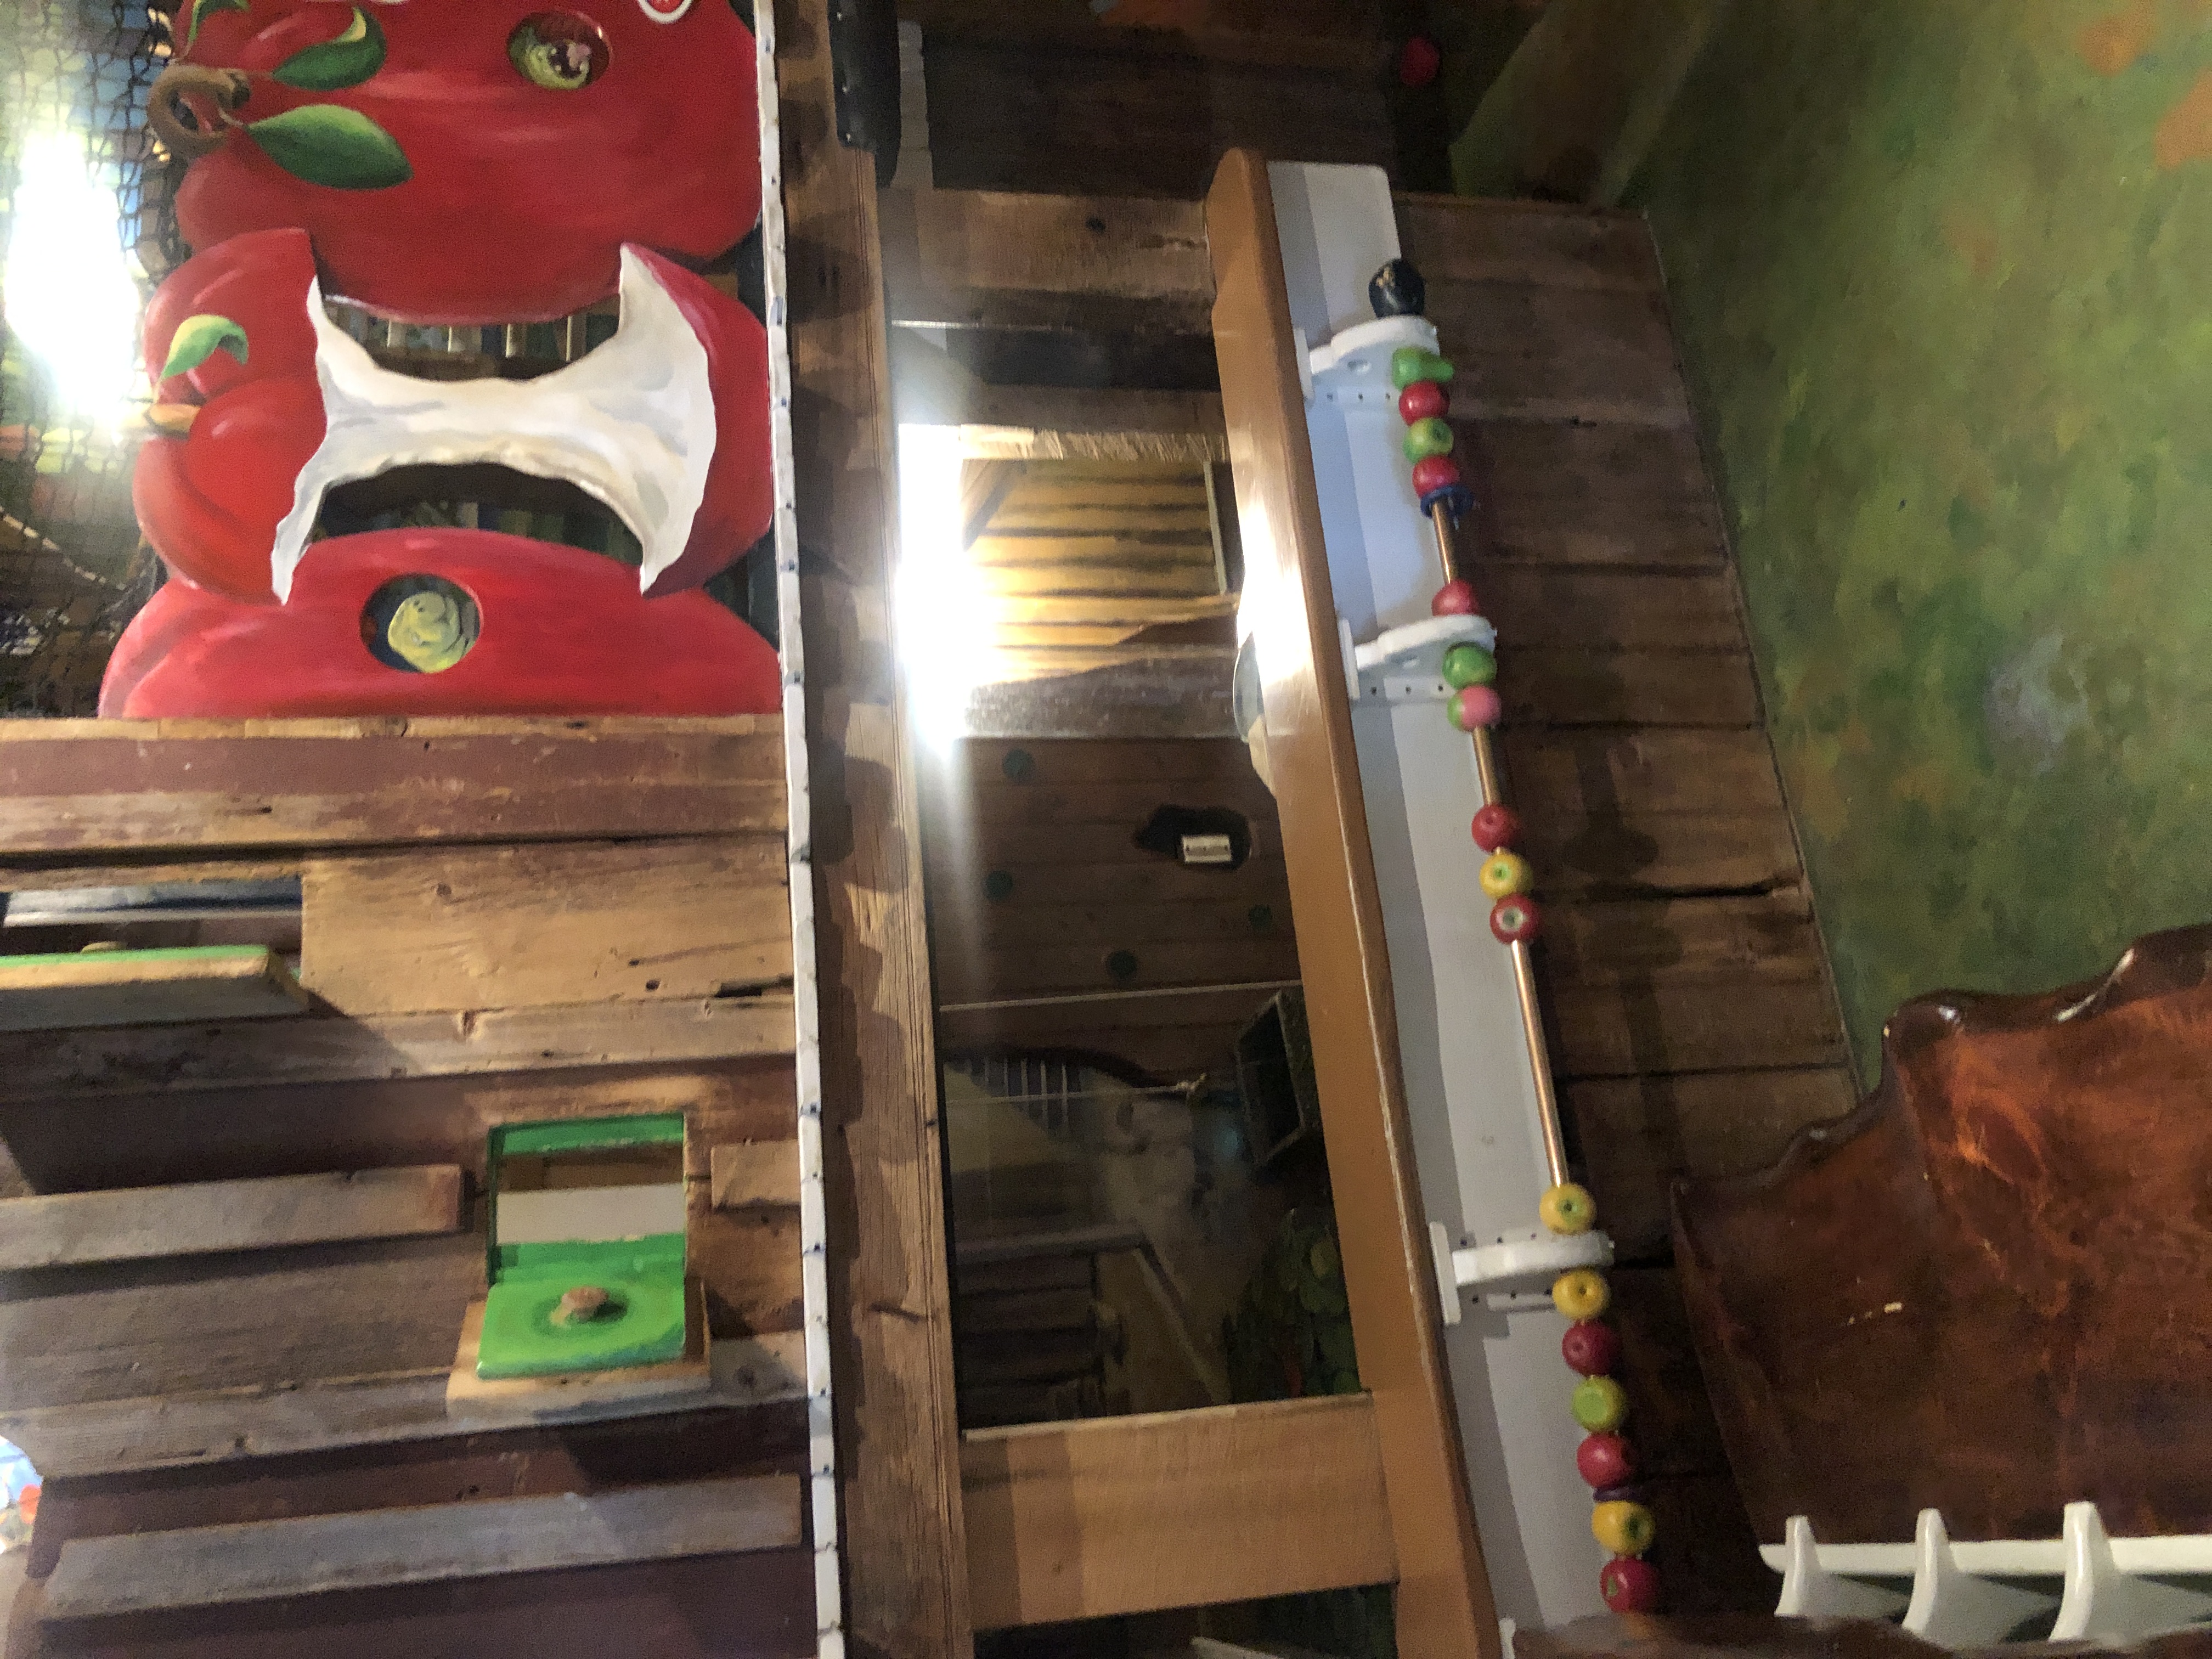
Farm exhibit from Kidcity Museumin Middletown, CT
2

Ideation & Concept Development

With research insights in hand, I moved into brainstorming and sketching. I explored modular geometries, neutral color palettes, and transformable surfaces that could become a kitchen, a clinic, a market, or anything a child imagined.

  • Initial sketches and form studies
  • Mood boards centered on gender-neutral palettes
  • Modularity concepts: hinges, panels, magnetic connectors
Early sketchbook page
Form studies and geometry exploration
Mood board with neutral palettes
Connector and hinge concepts
Early sketchbook page
3

Prototyping

I built scale models to test ergonomics, stability, and ease of transformation. Material samples were evaluated for durability, cleanability, and sensory feedback—critical factors for inclusive play.

  • Full-size cardboard prototypes for user flow
  • ASTM safety gap and tip-over analysis
Cardboard prototype assembly
Full-size cardboard prototype assembly
Ergonomic testing session
Full-size cardboard prototype assembl
Material durability testing
Full-size cardboard prototype assembl
ASTM safety gap analysis
Full-size cardboard prototype assembl
4

Production

Final manufacturing steps bringing the design from prototype to finished product. CNC cutting, painting with milk paint, sewing fabric elements, and assembly.

  • CNC precision cutting of birch plywood panels
  • Milk paint application for natural, durable finish
  • Fabric sewing for accessories and canopies
  • Final assembly and quality testing
Pieces labeled after CNC production
Sewing felt vegetables
Plywood cut from CNC machine
Pieces labeled after CNC production
Plywood cut from CNC machine
Pieces painted with milk paint
5

Final Design

  • Natural birch plywood + canvas canopy
  • Integrated storage cubbies and open shelving
  • Wheelchair-accessible footprint and reach ranges
Final design render front view
Picture 1
Final design render clinic configuration
Picture 2
Final design detail shot
Picture 3
Final design accessible layout
Picture 4

Process Gallery

A closer look at sketches, prototypes, and moments from the design journey.

Design Is a Journey

Every iteration brought me closer to a playset that honors how children actually play—cooperatively, creatively, and without limits. The process taught me that the most effective designs emerge from listening closely to the people who will use them.

View Research Page →